How to Floss Your Teeth: A Beginner’s Guide

How to Floss Your Teeth: A Beginner’s Guide
What are the things you need to know when learning how to floss your teeth?
- When to floss
- Types of dental floss available
- Flossing instructions
- Flossing instructions for braces
- Additional tips for flossing
By now, you probably know the importance of dental hygiene. By prioritizing your oral health, you can prevent tooth decay, gum disease, and bad breath. But brushing alone is not enough to do these things. In addition to that, you should also practice flossing, as it can help remove the plaque and food particles stuck in between your teeth that can’t be reached by your toothbrush. If you’re interested to learn how to floss your teeth, keep on reading!
When to Floss
Flossing is beneficial if you incorporate it into your dental hygiene routine. But what order do you do brushing and flossing? When you brush before flossing, there is a chance that the food and plaque that you remove with flossing will remain in your mouth until you brush your teeth again.
The general rule is to floss before you brush your teeth. This is more beneficial because you’re removing all the released food and plaque with the brushing action. This leads to a cleaner and healthier mouth.
It’s best to floss your teeth at least once a day. You can do it in the morning or at night before you go to bed.
Types of Dental Floss Available

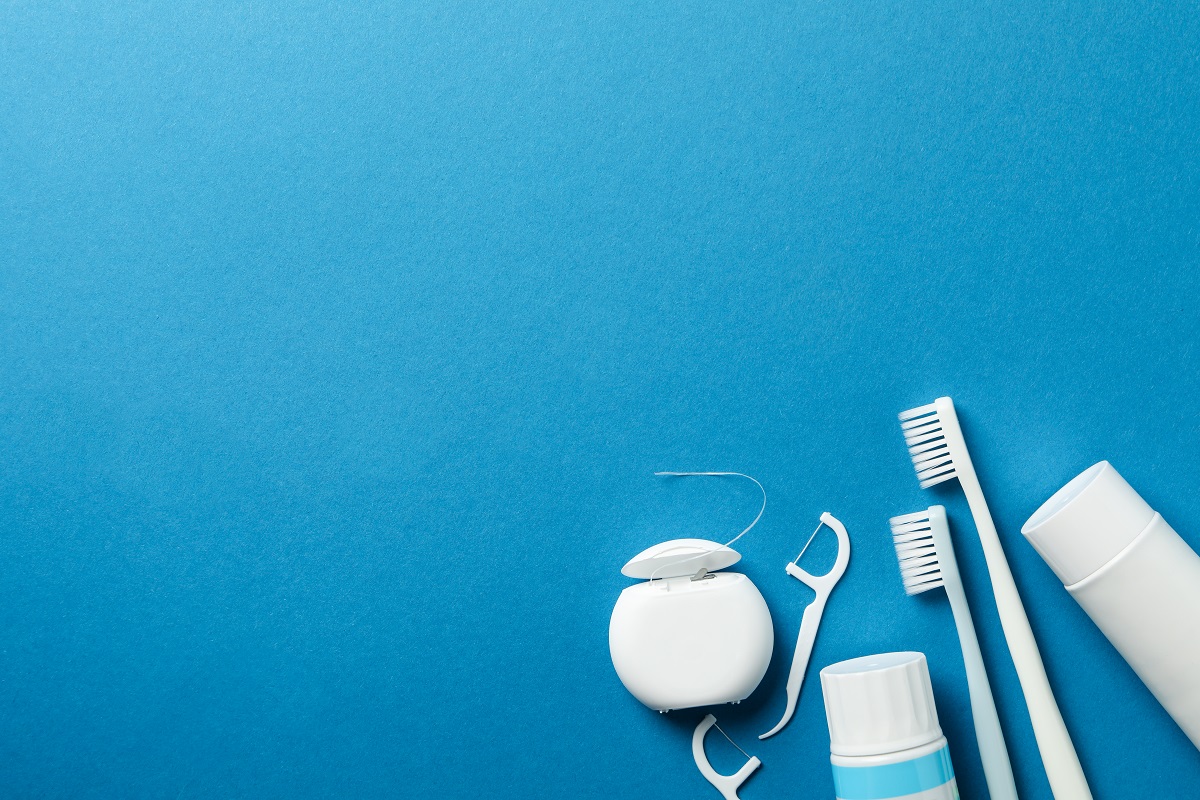
There are a few types of dental floss available in the grocery or pharmacy. Choose one that will fit your preferences and your teeth’s condition.
Standard Dental Floss
This is the most common dental floss in the market. It is made of a thin strand of nylon that you can fit between your teeth. You can choose from waxed or unwaxed variants. The waxed variant can help you glide the floss if you have teeth that are close to each other.
Dental Tape
Dental tape is a flatter and broader type of dental floss. It is more comfortable to use if you have large gaps between your teeth or wear braces. This type of floss is also available in waxed or unwaxed versions.
Super floss
This type of floss is made of regular floss, spongy floss, and a stiff end threader. It is designed for people that have braces, dental bridges, or wide teeth gaps.
Flavored Floss
Flosses come in flavored variants. This is a great option for kids that are not enthusiastic about flossing.
Interdental Brush
Interdental brushes are made for people with braces and large gaps between teeth that regular floss cannot clean anymore. These have small bristled heads that can clean between your teeth. The brushes come in different sizes.
Water Flosser
A water flosser provides a stream of water to remove plaque and food particles in hard-to-reach places. It’s recommended for patients with a dental bridge, veneers, or braces.
Floss Pick
Floss picks feature a plastic handle and a floss component. It’s a convenient way to floss for people who are on the go.
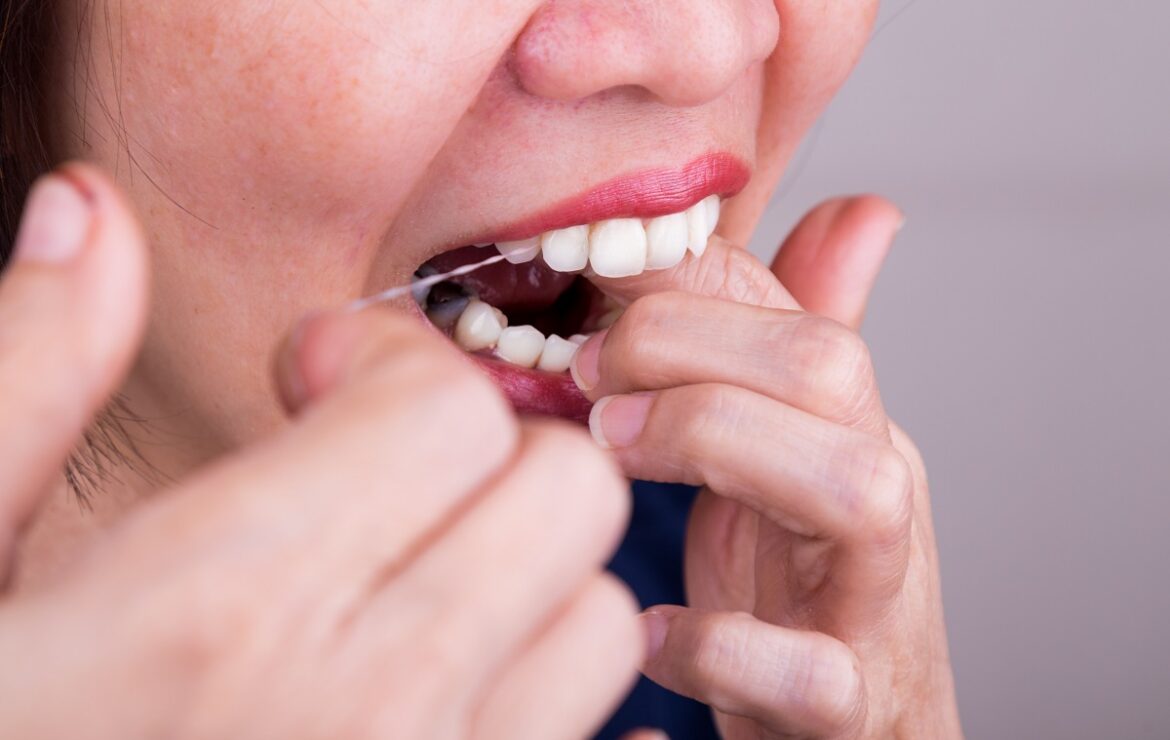
Flossing Instructions
If it’s your first time flossing, you can follow this guide to help you clean in between your teeth.
- Take about 18 inches of floss and wind most of it around your middle fingers. You’ll end up with about an inch of floss to clean your teeth.
- Hold the floss taut between your index finger and thumb.
- Glide the floss between your teeth to remove the plaque and food particles.
- Curve the floss into a C shape as it reaches your gum line. Avoid gliding it to prevent bruises.
- Repeat all the steps above when moving to a new tooth. Use a new and clean section on the floss.
Flossing Instructions for Braces

When flossing with braces, allocate around 15 minutes of your time to clean all the tight spaces in between your teeth. But if you want to speed up the process, you can use a floss threader, which is a small plastic tool that can help you pull floss behind the wire of your braces quickly.
- Break off 18 inches of floss and insert one end through the loop of the floss threader.
- Insert the plastic needle under the wire of your braces then carefully pull the floss through the wire.
- Now that the floss is through, you can slip the threader off, only leaving the floss.
- Wrap the floss in your index fingers for better control.
- Slide the floss gently up and down between the two teeth to get rid of plaque and food particles.
- Pull out the floss gently and repeat the process with the floss threader on another set of teeth.
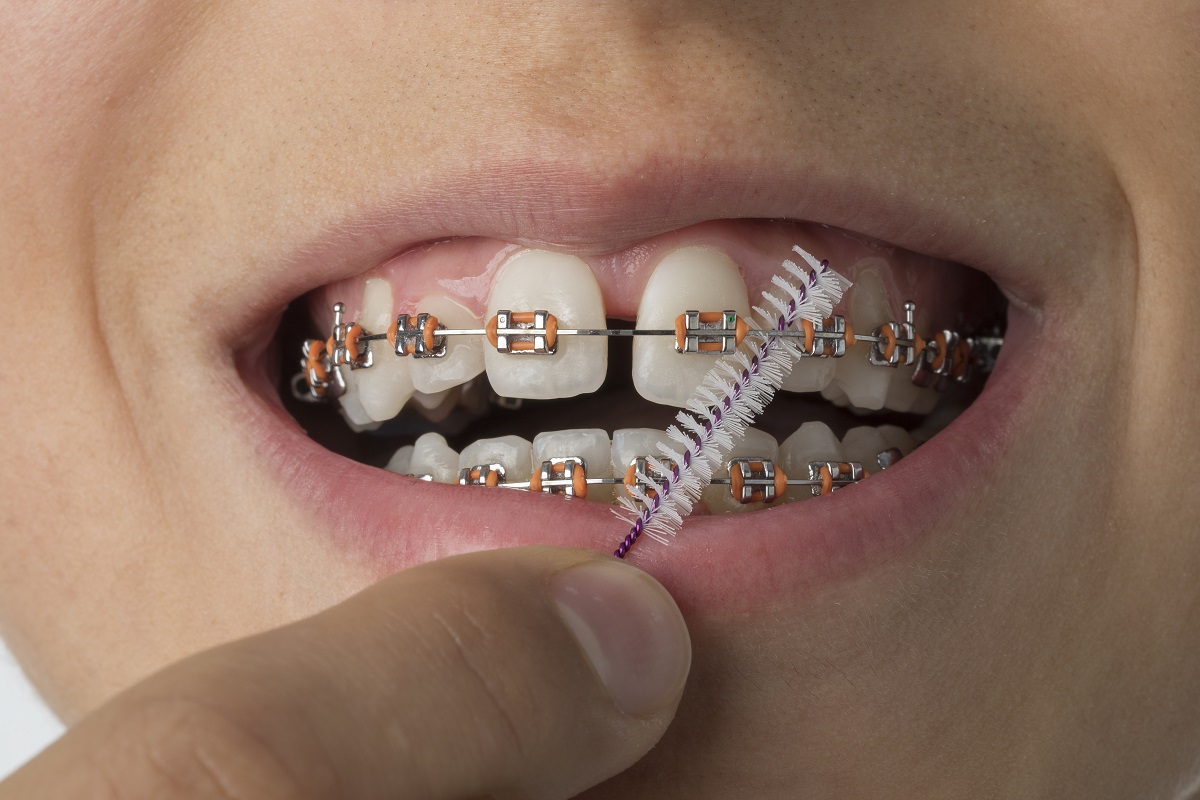
In addition to a floss threader, you can also use an interdental brush to clean around and between the brackets and wires. You can follow these instructions when using it for the first time:
- Insert the interdental brush under the wire of your braces.
- Gently brush the space between the teeth and the wire in an up and down motion.
- Move to the other tooth while continuing the up and down motion under the braces wire.
- Repeat the process for another set of teeth.
Additional Tips for Flossing
Follow these best practices when flossing, so you can keep your teeth in the best oral health:
- If you feel like there is food stuck in between your teeth, flossing is recommended as opposed to using a toothpick. The latter can damage your gums if you’re not careful.
- To prevent snapping the floss, be gentle when moving it up and down against the side of each tooth. This is also helpful in avoiding bleeding gums.
- If you’re having difficulty with the traditional flossing method when cleaning in between teeth, you can use a floss threader. It can help you pull the floss behind your braces quickly and easily.
Key Takeaway
Now that you know how to floss your teeth, you can keep your teeth and gums in the best health. Other than brushing and flossing, it is also recommended to schedule a dentist visit at least twice a year. This way, a professional can remove the plaque and tartar that can cause cavities or gum disease!
If you’re interested, you can schedule an appointment at our clinics here at Elevate Dental. We will do our best to make your experience as comfortable as possible by providing the best facilities and amenities.


